Trezor.io/start – Your Official Guide to Setting Up the Trezor Wallet
If you're looking to take full control of your cryptocurrency assets, Trezor.io/start is your official starting point. Setting up your Trezor hardware wallet is the most important step toward protecting your digital wealth from online threats like hacks, phishing, and malware. This guide walks you through everything you need to know, from installation to securing your wallet with Trezor Suite and Trezor Bridge.
What Is Trezor.io/start?
Trezor.io/start is the official onboarding portal for new and existing Trezor users. Whether you're setting up a Trezor Model T or Model One, this page provides all the necessary tools, software, and instructions to get your device up and running securely. Avoid fake or third-party tools—always start at the official site to ensure your setup is safe and verified.
What You Need to Begin
Before you dive into setup, make sure you have the following:
- A Trezor hardware wallet (Model One or Model T)
- A computer (Windows, MacOS, or Linux)
- A USB cable to connect your device
- A secure internet connection
- 10–15 minutes of uninterrupted time
Once you have everything ready, go to Trezor.io/start to begin.
Step-by-Step Trezor Wallet Setup
- Visit Trezor.io/start Go to the official page to begin the setup process. You'll be prompted to choose your device model.
- Download Trezor Suite Trezor Suite is the desktop application used to manage your crypto portfolio, view balances, and perform transactions securely.
- Install Trezor Bridge (if needed) If you’re using a browser to access Trezor Suite Web, you may be prompted to install Trezor Bridge, a small background service that enables communication between your device and browser.
- Connect Your Wallet Use the USB cable to connect your Trezor hardware wallet to your computer.
- Install or Update Firmware The device will prompt you to install the latest firmware. Follow the on-screen instructions for secure installation.
- Create a New Wallet or Restore an Existing One If you’re new, select “Create Wallet” and follow the prompts. If you’re restoring an old wallet, choose “Recover Wallet” and enter your 12- or 24-word seed phrase.
- Write Down Your Recovery Seed This is the most important step. Write your recovery phrase on paper and store it in a safe, offline location. Never take a photo or store it digitally.
- Set a PIN Code You’ll be asked to create a PIN code for your Trezor device. This prevents unauthorized access if someone physically obtains your device.
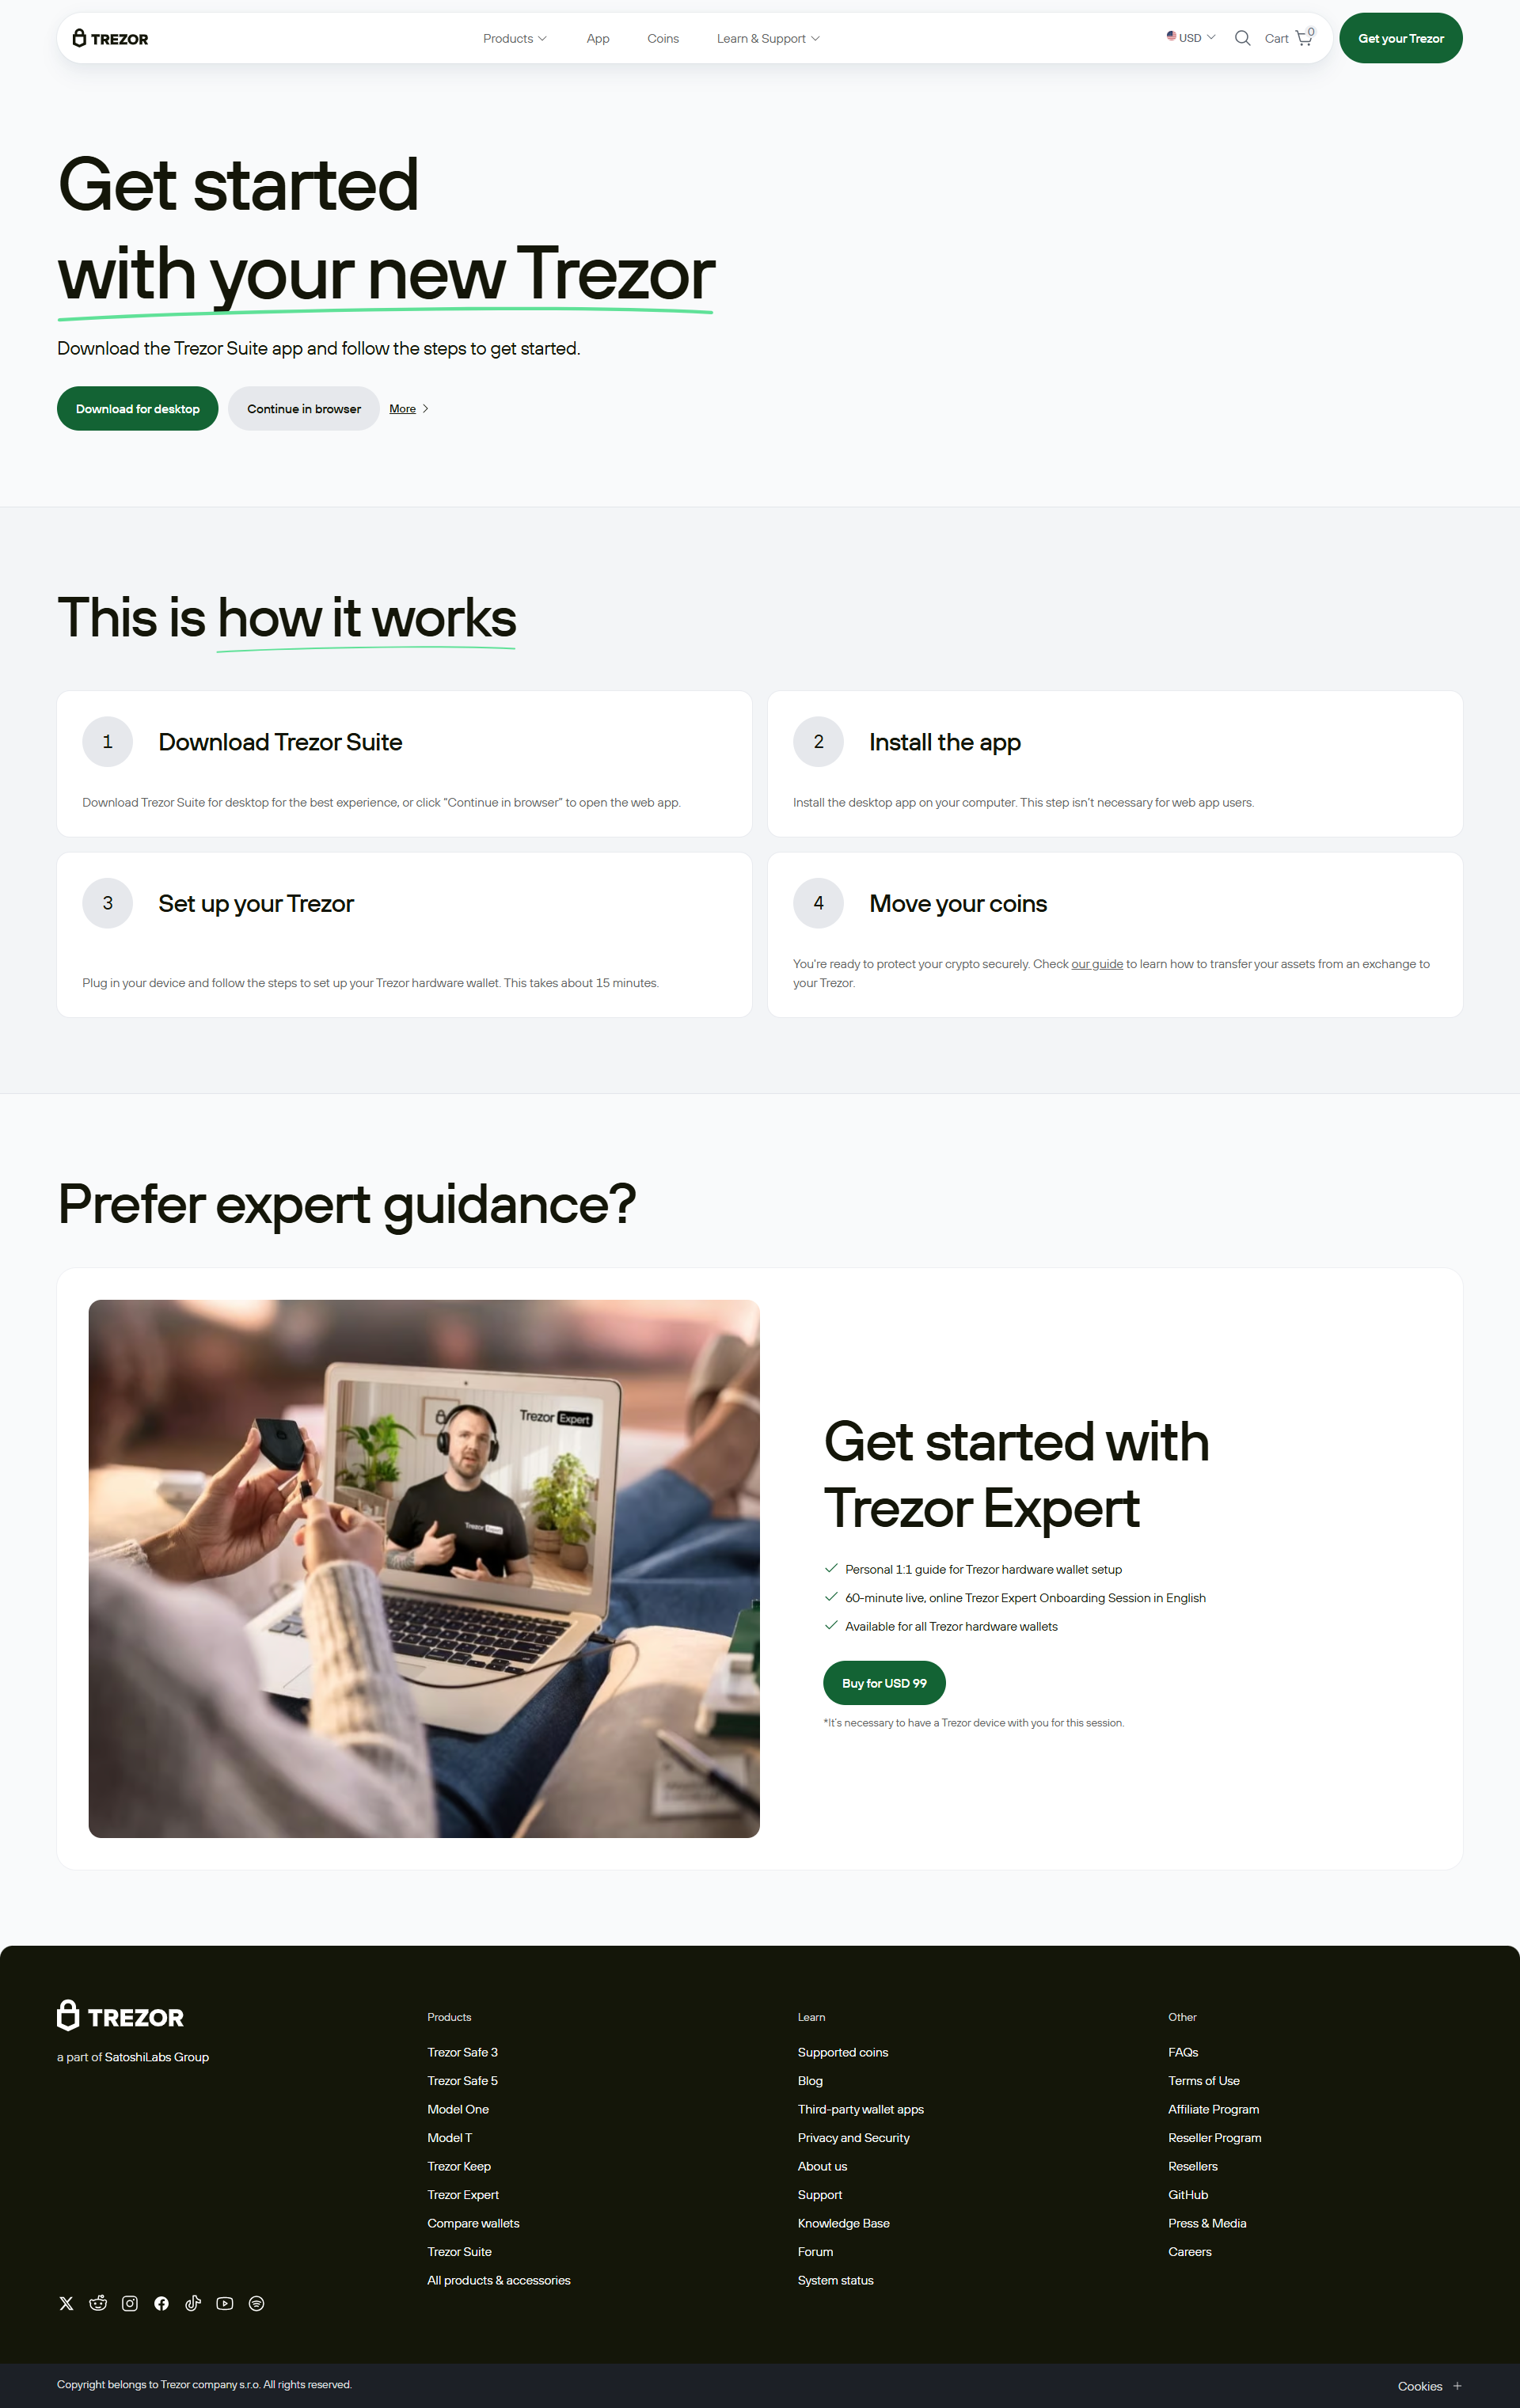
What Is Trezor Suite?
Trezor Suite is an all-in-one software environment where you can manage your crypto assets. It offers features such as:
- Secure sending and receiving of crypto
- Portfolio tracking
- Advanced privacy tools (like Tor integration)
- Coin control and labeling
- Built-in exchange services
Whether you’re buying Bitcoin or managing multiple ERC-20 tokens, Trezor Suite ensures your assets stay protected and private.
What Is Trezor Bridge?
Trezor Bridge is a utility that runs in the background on your computer. It allows your browser to interact directly with your Trezor hardware wallet. If you're not using the desktop version of Trezor Suite, this tool is required to use the web-based version in Chrome or Firefox.
Trezor Bridge:
- Is safe, lightweight, and easy to install
- Works automatically once installed
- Requires no user configuration
Trezor Wallet Security Features
When you use a Trezor wallet, you're securing your funds with some of the highest-grade tools in the industry. Key security features include:
- Offline private keys: Your keys never leave the device.
- PIN protection: Even if the device is lost, the funds remain inaccessible.
- Passphrase feature: Add an extra layer of security beyond your recovery seed.
- Hidden wallets: Create secret wallets accessible only with your passphrase.
- Open-source code: Audited by the public and security experts.
Supported Cryptocurrencies
The Trezor hardware wallet supports over 1,000 cryptocurrencies, including:
- Bitcoin (BTC)
- Ethereum (ETH) and ERC-20 tokens
- Litecoin (LTC)
- Cardano (ADA)
- Binance Coin (BNB)
- Polygon (MATIC)
- Dogecoin (DOGE)
- Polkadot (DOT)
You can also use your Trezor with third-party wallets like MetaMask to interact with DeFi protocols and NFTs securely.
Backup and Recovery
One of the most powerful features of your Trezor wallet is the ability to recover funds using a recovery phrase. In case of device loss or damage:
- Get a new Trezor wallet
- Go to Trezor.io/start
- Select “Recover Wallet” and enter your seed phrase
- Your entire wallet (and funds) will be restored instantly
Just remember: anyone with access to your recovery phrase can access your funds. Treat it with the same level of security you would give to physical cash or gold.
Tips for Staying Secure
- Only buy Trezor devices from the official store
- Never share your recovery seed or PIN with anyone
- Avoid entering seed phrases into a computer or phone
- Enable passphrase protection for an extra layer of privacy
- Regularly update Trezor Suite and firmware
Frequently Asked Questions
Q: Is Trezor.io/start safe to use? Yes, it is the official onboarding website maintained by SatoshiLabs, the creators of Trezor.
Q: Do I have to use Trezor Suite? While some third-party wallets work with Trezor, Trezor Suite offers the most secure and seamless experience.
Q: What if I forget my PIN? You can reset the device, but you’ll need your recovery phrase to restore your wallet.
Q: Is Trezor Bridge mandatory? Only if you’re using the browser-based Trezor Suite. Desktop app users don’t need it.
Get Started at Trezor.io/start
Now that you understand the importance of securing your digital assets, it's time to take action. Visit Trezor.io/start to begin your secure crypto journey today. With Trezor, your funds remain safe, private, and fully under your control—exactly as crypto was meant to be.
Made in Typedream